
Braided Necklaces

Awhile back during the summer, I made one of these Braided Necklaces for myself. Then my friends at school, Patty and Miranda, asked me if I could make them one too. So, after I delivered their necklaces, all the girls in my class asked me to make them one! Now, I will show you how to make your own Braided Necklace!

Here is what you need: washers (one and a half inch) , scissors, and embroidery string.

Pick out three different color strings you would like.

Cut all three colors about 2 feet 2 inches long.

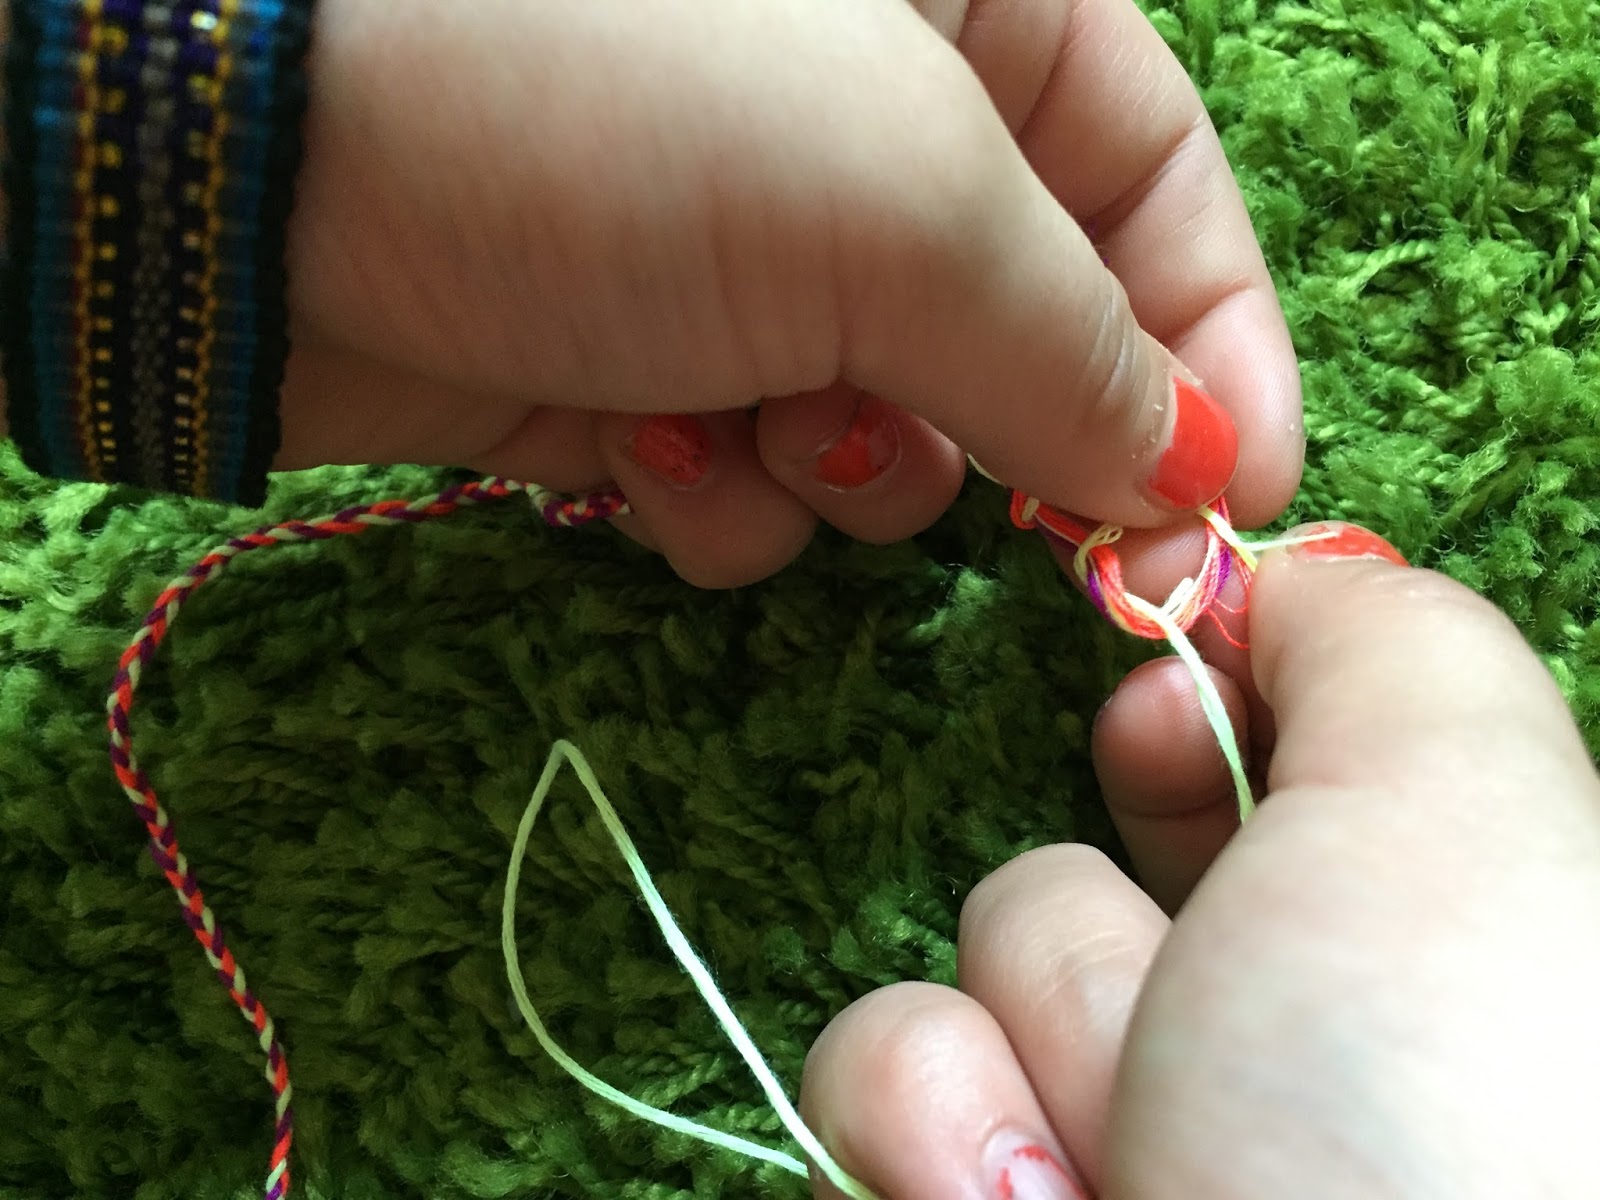
Tie a knot at one end of your necklace which will join all three together.

Now braid it. You can hold it with your teeth while braiding it. That will probably help you keep your braid tight.

Once you are done braiding, tie a knot on the other end to hold your braid together.

It will look like this, but you are not finished yet.

Choose one of the colors you used to braid your necklace together. Cut about a foot long piece off.

Tie each end of that string to each end of the braided necklace. It will form a necklace shape. Now you can trim the extra pieces off the edges.

Now, you are ready for the washer!

Stick a looped end of the necklace through the middle of the washer. Then, stick the rest of the necklace through that loop and pull it tight. You are finished! You can go make some for all of your friends. It would make a great Birthday or Christmas present for your friends or family!

I gave one to my little sister, Elizabeth!

Make as many as you want in any colors you want. You can also copy off of mine if you want to!


Comments
Post a Comment